Your Cart is Empty
The GOLDEN TICKET is BACK! Shop with Starfish for your chance at $500 💰
The GOLDEN TICKET is BACK! Shop with Starfish for your chance at $500 💰

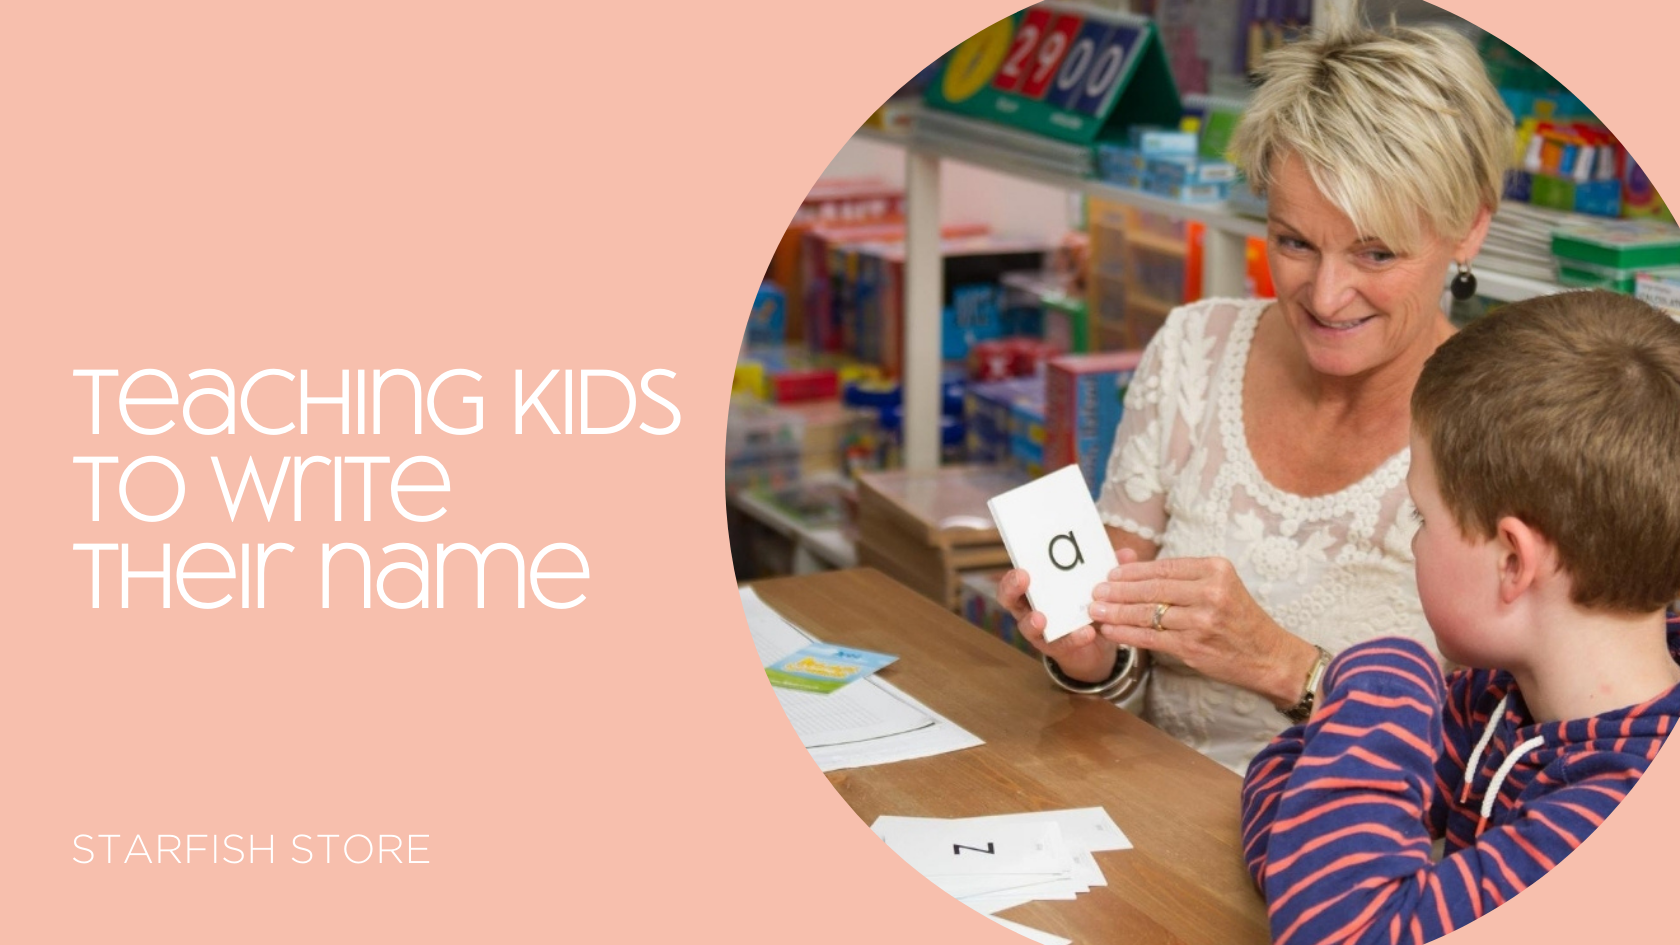
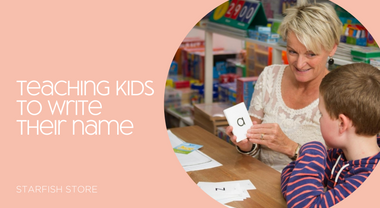
I think we can safely say that learning to write your own name is probably one of the most fundamental early lessons. Let's face it, you'll need to do it your whole life! So teaching kids to write their name can be daunting.
When children are comfortable with recognising and spelling their names, the next step is writing them. This is usually a fairly natural progression. Often these steps overlap and work in conjunction with each other.
As Christmas approaches, what better time to teach your child to write their own name. From greetings cards to present tags, the festive season is a great time for kids to see the importance of this vital skill. Which prompted us to write this blog.
So, does your child know how to write their name? If not, here's some quick and easy ways to help teach them.
Kids usually learn to recognise their name in print well before being able to write their name.
There are lots of ways to help children recognise their name...

Educational bricks are a valuable addition to any phonics resource kit. They are a fantastic way to demonstrate that letters represent sounds.
We love the Coko bricks. They are available in upper case, lower case, vowels and digraphs so are perfect to start teaching kids to write their name!
Shop Coko Educational bricks HERE!
Using the correct handwriting script from the get go is a good idea. Getting it right from the start is easier than trying to change it later. It's not always possible, but when you can, do.
Much of the Australian schooling system is governed by each respective state. Unfortunately this has lead to the handwriting style in schools being different from state to state...
It's pretty easy to find out what the handwriting style is for the state you live in. Search for either 'Board of Studies' or 'Department of Education' for your state or territory and then 'handwriting'. You'll find loads of ways to access a copy of the particular handwriting you need.
As an example, find the New South Wales guide for parents HERE!

Print your child's name.
Have their name written in full so they can see what it looks like.
Make sure it's written in the correct handwriting style too.
This gives them something to refer to.

Start with the first letter of your child's name, and use a capital.
Explain that for important words such as people's names, we always use capitals for the first letter.
When you are showing how to write the first letter, always verbalise how to form the letter as you do it. Verbalising the process helps them 'think aloud', and provides a prompt for how to proceed.
For example, you might say...
Start at the top, go down, then go back up to the top and go down up down(for the letter 'M')
OR
Let’s start here. Walk around and all the way back up. Close the circle. Turn around and go down all the way to the bottom (for a lower case 'a')
Almost like a rhyme.
There is no set way to verbalise each letter. Feel free to make up your own keeping in mind less is more. Go easy on the long winded explanations, something simple makes it catchy and easy to remember!
Put a dot to indicate where your child needs to put their pencil or texta to start each letter.
Remind them with a prompt of where to start and which direction to go, for example 'always start at the top then go round' (moving your hand to the right for instance in the case of a Capital G).
The video below puts what we've talked about above into practice. Excuse the slight graininess, but you can get the idea!
When initially teaching them to write their name, provide some visual support for your child to follow. This can be in the form of letters for your child to trace over, dotted lines to write over, or the outline of letters, so they can work within them.
Personally, I prefer the dotted letters. You can adjust how much support is given by how many dots you give for the child to follow. For example, once your child has had a little practice writing a letter you might just give the starting dot and a few extra dots in the right direction to get them going.

If you want to make your own resources, there's a handy website where you can purchase the correct handwriting style for your state. Then everything you type or create on you computer is in the correct foundation font.
Here's an example of some of the fonts that I whipped up with all my boy's names...
This site gives lots of options. You can print your words out in the typical print or in dotted and outline form, they even have numbered directional arrows. This is ideal for teaching kids to write their name or those just learning letters, or needing practice perfecting their handwriting skills no matter what their level. Purchasing an individual license is $30.00 (at time of writing this post).
Click HERE to go to their website.

Give lots of practice opportunities, using a variety of writing utensils (pens, texts, pencils, crayons) and materials (such as in sand).
Dry wipe boards are brilliant for this! You can write your child's name in permanent marker (which can be later removed with nail polish remover) and then they can use a whiteboard marker. The perfect re-usable resource.

I've found that larger whiteboard markers are best for younger children.
Marker pens that are too thin become difficult for kids to hold. Thicker writing tools are definitely best.
Shop our chunky whiteboard markers HERE!

Giving prompts just slightly ahead of what your child is about to do is more likely to set them up to form the letter correctly the first time around, building the habit of that letter's formation.
It saves having to re-teach and them having to 'un-learn' then 're-learn'.
It is always better to get it right at first rather having to correct later down the line.
Giving immediate feedback (positively and with encouragement) promotes learning the correct formation from the outset, but it also makes it more likely that your child will want to keep practicing.
All the prompts you provide when teaching kids to write their name are important. From their name written in full (to refer to), the verbalisation you give, the starting point, the dotted letters, the hints with direction etc.
It is also important that you only provide these for as long as they actually need. Knowing when to remove prompts, and how to time their gradual removal is actually an art and you need to be in-tune with your child's learning.
You can remove prompts slowly, one by one. A gradual decrease will be less overwhelming, and they will probably not even notice.

Give lots of practice opportunities, using a variety of writing utensils (pens, textas, pencils, crayons) and materials (such as sand).
It is also valuable for children to have opportunities to write on vertical surfaces such as easels, windows, shower screens (in the 'mist').
It actually helps them develop wrist strength and hand control for using writing implements.
The VIGA standing easels is a great investment for kids learning to write their name or for just developing any writing or drawing skills. Allowing children the opportunity to write on vertical surfaces actually helps them develop wrist strength and hand control for using writing implements.
Shop the VIGA Standing Easel HERE!

Another Starfish favourite is the 10″ LCD WRITING TABLET. A revolutionary writing tool. Like a whiteboard, it is an environmentally friendly, paper free, reusable resource. Instead of wiping it clean, you simply press a button to erase your work. The screen is touch sensitive and you can use pretty much anything as a writing tool, even your finger!
Shop the 10″ LCD writing tablet HERE!
If you're not sure where to start when it comes to teaching your child how to write their name, then hopefully this post has managed to provide a little guidance.
As always, these our just our ideas and techniques we have found to work. Of course every child is unique in the way they learn. If you've discovered some great methods that have helped you tackle this task, please share them! You won't be just sharing them with us, but our entire Starfish community.
And we're sure someone will find them very, very useful.
Love team Starfish x
40 Proprioceptive activities for the classroom. Simple and practical activities to incorporate Proprioceptive into the classroom. 16 A4 sheets to print for your classroom, therapy space or home.
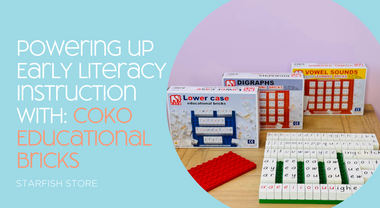
Dive into the world of early literacy instruction with our latest blog post featuring Coko Educational Bricks! Follow Kirstie as she uncovers the innovative methods that are transforming the way we teach and learn language and literacy.
Click here to explore the full story and unlock the potential of Coko Educational Bricks.

Navigating the challenges of post-school meltdowns and hyperactivity is a common concern for parents. However, with the right strategies, we can support our child's emotional regulation and well-being. From routines to sensory techniques, each tactic contributes to creating a supportive environment for your child.
Join us as we explore practical solutions to ease the transition from school to home,...

When it comes to early start NDIS plans, you may find that not all children are allocated funding under the CORE category. The shift in funding allocation has left many families in a predicament, as they struggle to secure the necessary resources to support their children.
However, there is hope. You might be able to request an allocation...
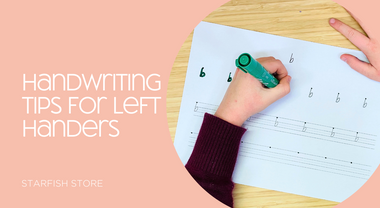
Developing good handwriting is a valuable and practical skill. When you can write effortlessly, your work becomes legible and efficient, enabling you to focus on the content rather than the physical act of writing.
However, for left-handed students, achieving mastery in handwriting can be more challenging.
In this blog post, we'll showcase the top tips for...

Confusing the letters b and d is a common issue for many learners. Whether it is mixing up b’s and d’s in reading or writing, or both, as parents and educators, it is important to address this early.
In this blog, Kirstie explains 'why' it is important and lists the strategies that she uses to help learners master their b’s and d’s in the Starfish tutoring...
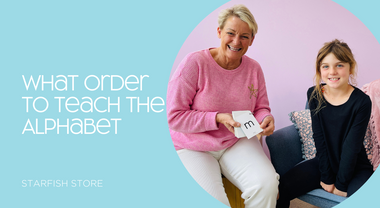
In early childhood education, teaching the alphabet is a fundamental skill that lays the foundation for reading and writing.
However, the order in which the letters are taught can greatly impact a child's learning progress.
In this blog, we will explore the importance of teaching the alphabet in a particular order, provide practical tips on how...
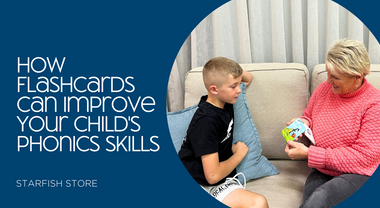
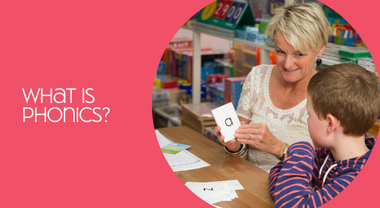
Flashcards are a versatile and effective tool for teaching phonics. They are a simple and engaging way to introduce and reinforce letter sounds and word recognition skills.
In this blog, we will explore the benefits of using flashcards for phonics learning and provide practical tips for making the most of this valuable teaching tool.

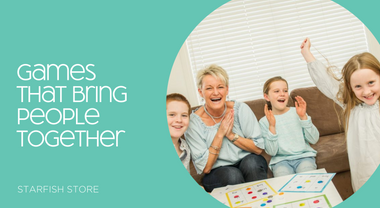
As parents and teachers, we understand the importance of fostering early development in our little ones. Games are not only a fun activity, but they provide numerous developmental benefits.
From improving social skills to enhancing cognitive abilities, games offer a well-rounded learning experience for children.
Join Kirstie (M.Ed Special Education) as she talks you through some her top...
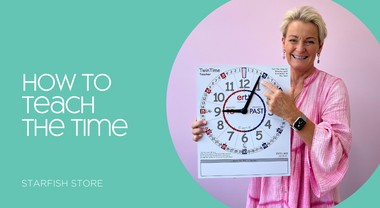
Learning to tell the time is an important life skill and it is a good way to promote self esteem & confidence. Many children struggle learning to tell the time, especially on an analogue clock. That doesn’t have to be the case, though.
You can make the process fun and easy by sticking to these three easy steps!
There are very few things (if any) more important for a child’s development than sleep. Sleep is essential for growth, brain health and overall wellbeing.
Poor sleep, or lack of sleep entirely, can be one of the biggest contributors leading to a child under achieving or struggling to reach their educational goals and developmental milestones.
So what can we do?
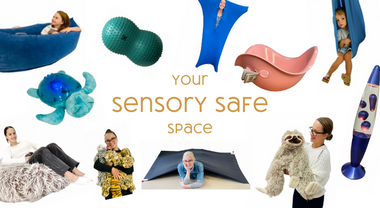
Ever heard of the term 'Sensory Safe Space'? If you haven't, we're here to shed some light on
what we believe can be a life line for those with sensory disorders.
Find out what we mean by 'sensory safe' and how we can prepare to host someone with sensory challenges.
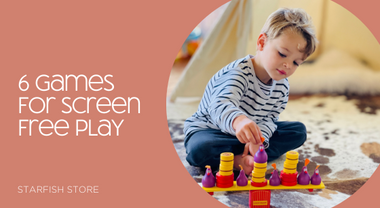
Whether we like it or not, screens are here to stay. Technology is vital for staying connected, but what we can do is learn to manage screen time responsibly.
Games are an ideal solution. There are so many great, screen-free games to keep children entertained that are just as easy to pop in the bag or car, here's some of our...
Face masks. A hot topic. And one that could be with us for some time yet. These are strange times for us as adults. Imagine what it is like for our children. We are all trying to find ways to live and function in what is the 'new normal'.
Here at Starfish, we often say synthetic phonics is the bread & butter of our reading program.
Phonics is the Bread, blending is the Butter.

Lycra Tunnels. We love them. With these fantastic sensory tools being the featured product of the month, we figured what better time to share some ideas with you on the best ways to make use of these stretchy tubes of fun!